
You want to get the latest update of a theme or plugin provided by WPScale ?
We offer our customers a selection of premium themes and plugins for free from Elegant Themes, but you won’t be able to update directly from your WordPress administration as we don’t provide you with an individual Elegant Themes account.
The only option is therefore to perform this update directly by FTP.
In this article, we will explain how to manually update a theme, but the procedure also applies to plugins.
To do this, follow the steps below:
STEP 1: DOWNLOAD AND INSTALL FILEZILLA
You must first download and install the FileZilla software in order to connect by FTP to the server.
For this, you can use the following article: Managing your FTP.
STEP 2: DOWNLOAD THE THEME OF YOUR CHOICE
Go to the "Premium Themes and Plugins" page (only accessible if you’re logged in beforehand) and click on the green "Download" button of the selected theme (on the next screengrab, we chose the Divi theme).
STEP 3: EXTRACT THE DOWNLOADED ARCHIVE
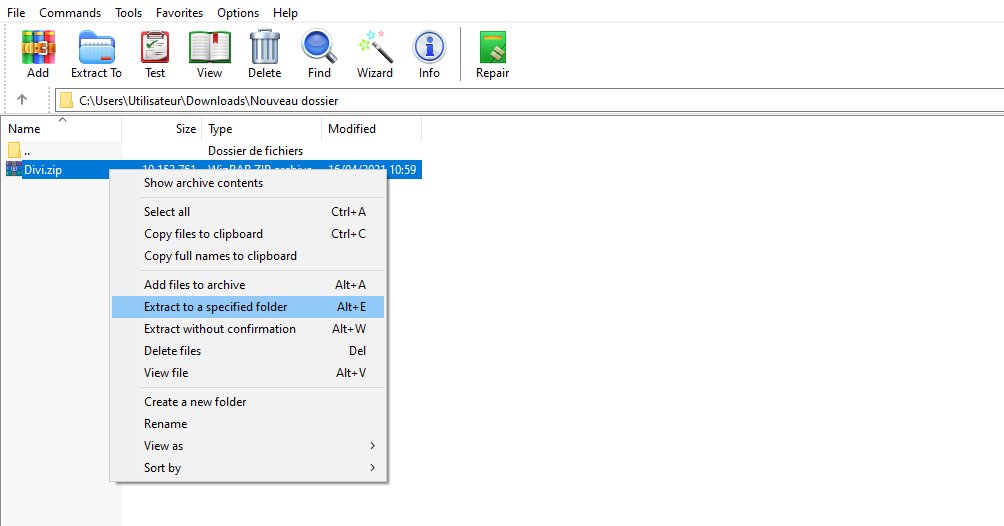
Go to the folder where the downloaded theme is located (this is usually the "Download" folder on your computer). There, you’ll find the "DIVI.ZIP" file. In this case, we use WinRar. Click on the file. Then, right click on the file inside and select "Extract in a specific folder".
A window will ask you to choose the location of the files to be extracted, so choose the desired folder and validate.
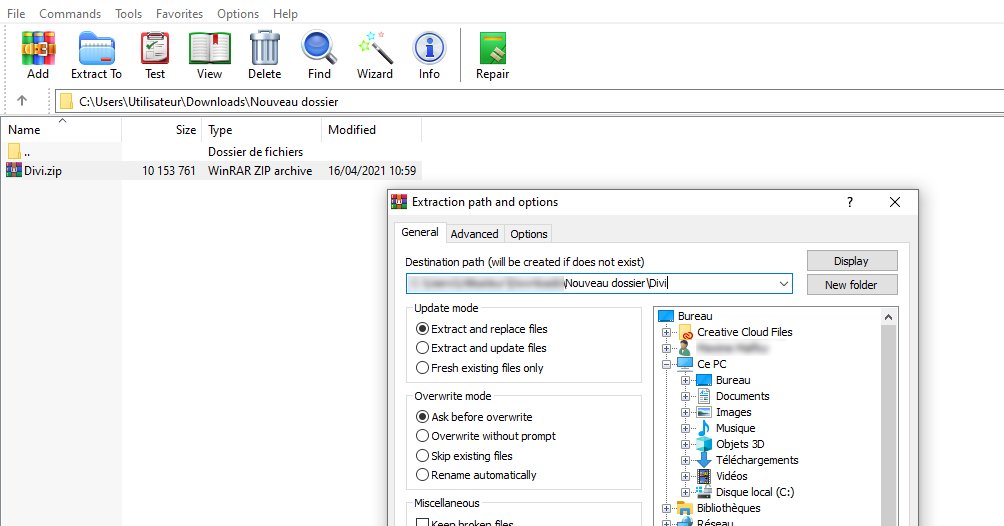
You will then get a classic theme folder named Divi.
Now that you have the unzipped theme folder, you just have to send it by FTP to your WordPress.
STEP 4: Send the theme WITH FILLEZILLA
Now launch the Fillezilla FTP software previously installed and log in to your server by following this article: Managing your FTP.
Enter the "/wp-content/themes/" folder in your WordPress (in the right window).
If it isn’t a theme but a plugin that you want to update, then enter the "/wp-content/plugins/" folder in your WordPress (in the right window).
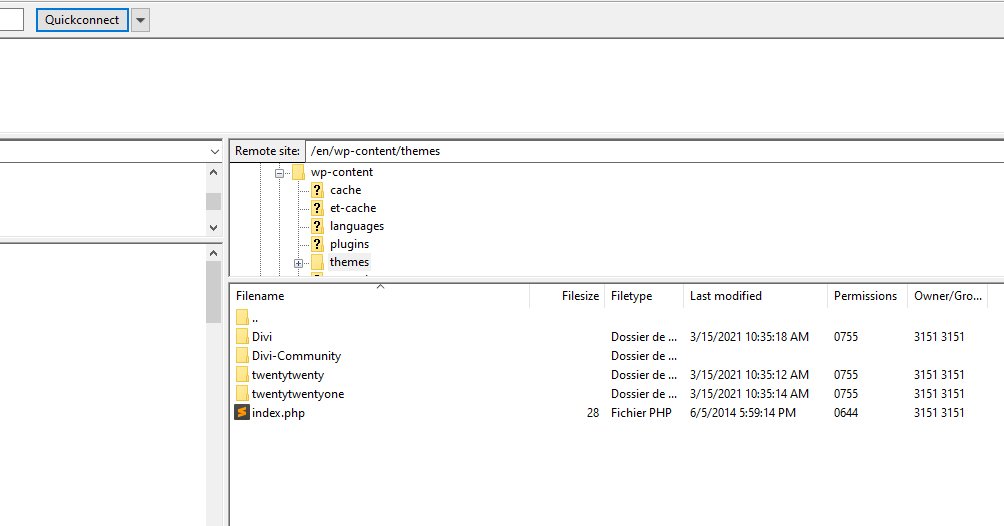
Open the folder where the previously unzipped DIVI folder is located, and drag and drop the folder into the FileZilla window, as shown in the image below.

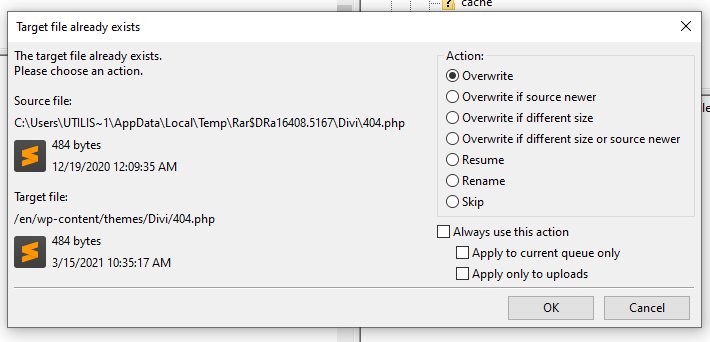
FileZilla is sure to open a window asking if you want to "Replace" the existing files with the new ones.
Check the radio "Replace" button as well as "Always perform this action" and click on the "OK" button to validate.
We can now move on to the final stage !
STEP 5: VERIFICATION
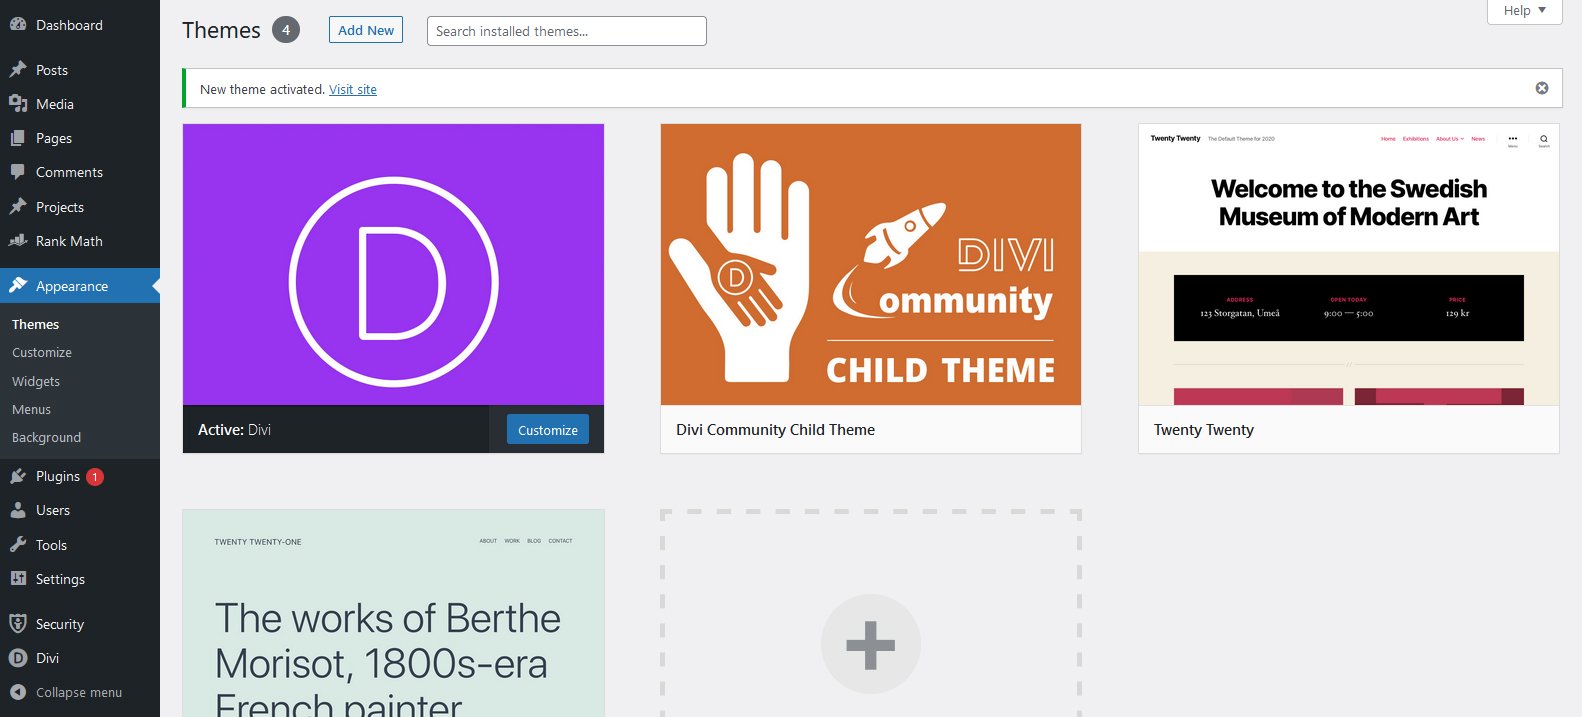
Once all the files have been transferred, return to your WordPress administration.
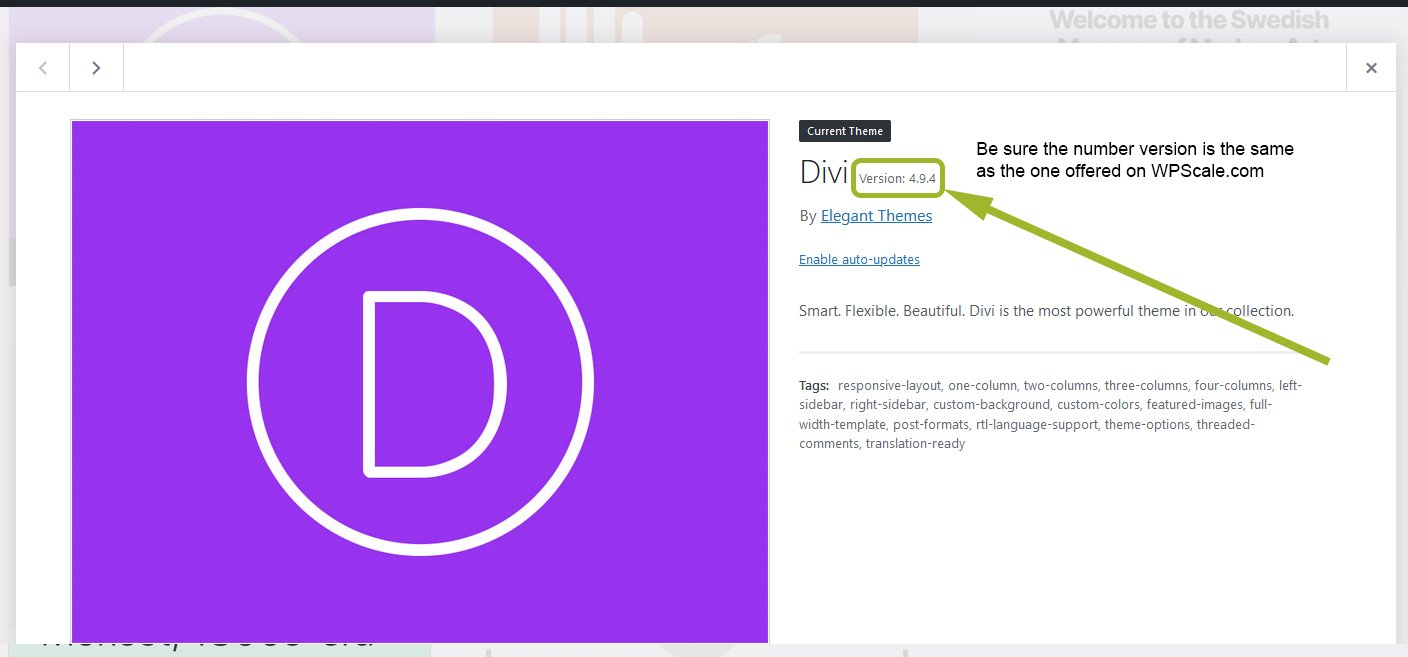
Go to "Appearance => Theme", and click on the DIVI theme. A window will open giving you the version number of your theme (on the example, we see version 2.7.10).
Compare it with the version downloaded on our site. If it matches, then the update has been successfully completed ! :)
If it’s a plugin that you updated, then go to "Plugins" and check that the version displayed on this page matches the one offered on our site.