For a few days, the
Let's Encrypt SSL certificates are available on all our servers, and through this article we will explain to you how to activate them correctly on your domain names.
What is an SSL certificate ?
An SSL certificate is a system that changes the access protocol to your website, from
HTTP to
HTTPS, to secure all requests that pass through your site, including login information, registration, purchase information etc.
What is Let's Encrypt ?
Let's Encrypt is a new
certification authority, created in 2015, and sponsored by web giants like: Mozilla, Cisco, OVH, Facebook, Free, and many others.
Unlike the rest, it offers a system accessible to all, which lets you install an
SSL certificate totally free of charge, which has to be
renewed every 3 months ! Let's Encrypt currently protects over a million websites !
What’s the difference with another SSL certificate ?
An SSL certificate is valid for a minimum of 1 year, and generally offers you a
guarantee of $10,000 minimum, for the simplest certificates.
The guarantee is for your protection. If the certification authority issues a certificate to a fraudulent site and a user loses money because of the trust they place in this incorrect certificate, then the guarantee covers it. So there is in this case insurance to reimburse them up to the amount of the guarantee, if the error is the responsibility of the certification authority.
Unlike traditional certificates, Let's Encrypt has two special features :
- It doesn’t offer any guarantee
- It’s only valid for 3 months, so you have to renew it four times a year, but with us, renewal is automatic, so you don't have to worry about that !
If you want to install it on a
small personal blog, a
showcase site etc.,
this doesn’t pose a problem.
However, if you wish to install it on a site on which you sell products, in particular with
Woocommerce, we don’t recommend it; go for a
paid certificate instead !
How do I activate an SSL certificate on my domain name ?
There are three ways to activate an SSL certificate on your WordPress:
- Follow this article to activate the Let's Encrypt SSL certificate for free.
- We can take care of the entire installation of the Let's Encrypt SSL certificate on your WordPress, but you need to subscribe to the following offer: Let's Encrypt Installation.
- We install a paid SSL COMODO certificate for you, and you have to subscribe to the following offer : https://www.wpscale.com/product/lets-encrypt-ssl-installation/.
Installing a Let's Encrypt SSL certificate
Before you start, you need to check that the domain name you’re using directs to the IP address of the server on which you’re hosted !
[display-ip-console]
If you have a dedicated IP address, then you should instead direct your domain name to it.
For example, if your domain name is mydomain.com and you’re using the WWW, check that mydomain.com and www.mydomain.com do actually direct to our servers.
Also, if you’re using a sub-domain, such as blog.mydomain.com, make sure that blog.mydomain.com directs to our servers.
To check this, you can use the tool
https://www.whatsmydns.net/ as below:
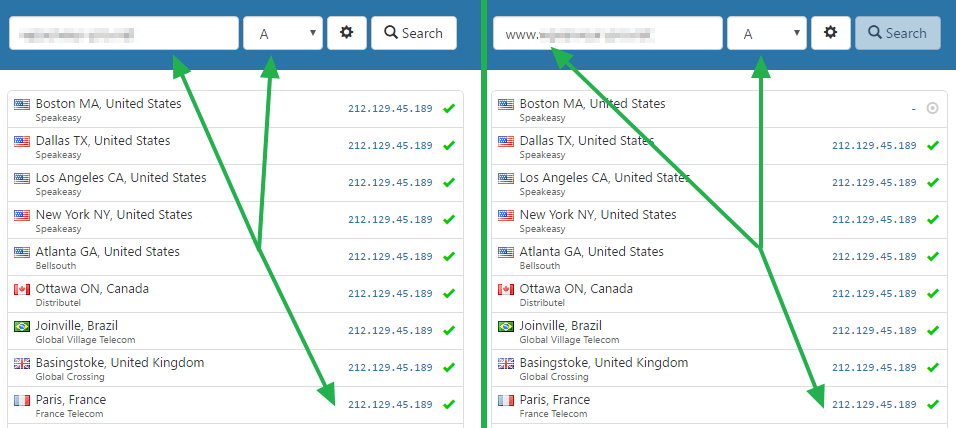
Be sure to wait until the DNS is propagated to all countries so that the Let's Encrypt certificate can be generated without error.
Here, the domain name directs well, with and without www on our servers, so we can move on to the next step:
Emptying the cache and disabling the cache plugin.
Warning: if you’re using CloudFlare, we recommend you don’t use it any more to avoid conflicts or other problems on your website (unwanted redirections etc.).
Before activating the Let's Encrypt SSL certificate, there’s one
last step. If you use a cache plugin (WP-Rocket, W3 Total Cache, WP Fastest Cache or other), you must go to your WordPress administration to empty this cache, and disable this plugin, to avoid any problem when activating Let's Encrypt, and afterwards.
Once this has been done, you can then proceed to the next step:
Enabling the Let's Encrypt SSL certificate.
Go to your WPScale console (for the address of your console, go to
https://www.wpscale.com/my-account/), and click on the
Manage my WordPress button.
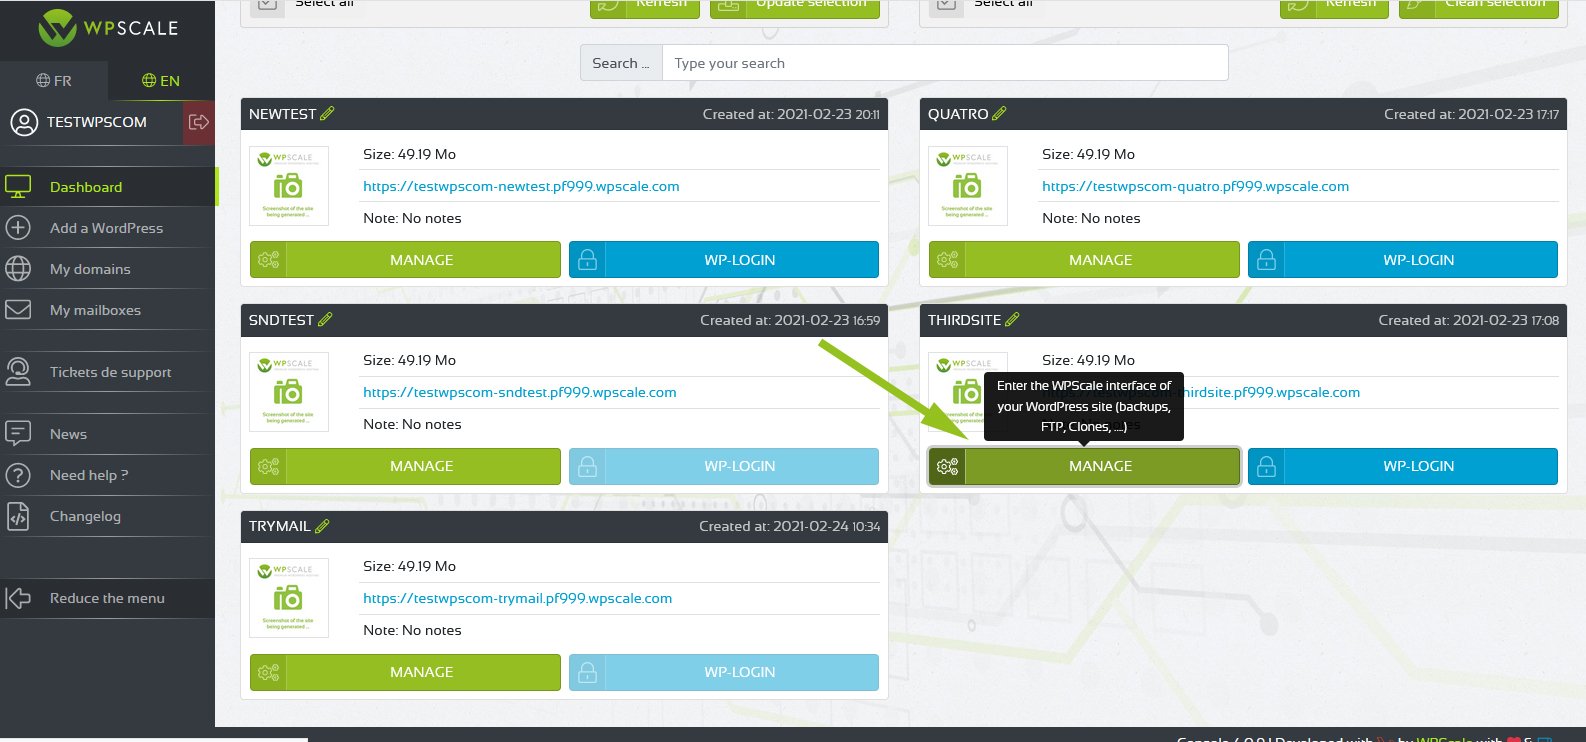
You’ll then be taken to the page where you can activate your Let's Encrypt SSL Certificate.
If you see a red icon, then no SSL certificate is installed.
Now click on the blue button
"Generate a Let's Encrypt certificate", and wait until the procedure is complete. Generation takes more or less time depending on the size of your site, but it usually doesn’t exceed one minute.
At the end of certificate generation, you’ll receive a
confirmation message. You can then proceed to the final step below - perform the necessary operations after activation of Let's Encrypt.
What should I do after activating Let's Encrypt ?
Here are a few things to do after you’ve activated an SSL certificate on your domain:
Checking URLs on your site
Once you’ve activated Let's Encrypt on your domain name, you may have errors in the URLs of your site, some will still be in HTTP instead of HTTPS, your site may not display correctly, so you need to correct the URLs.
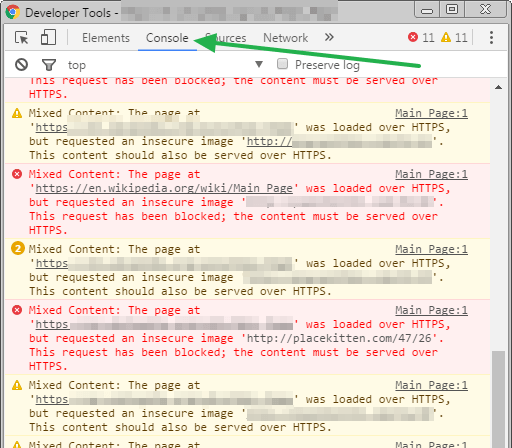
To check this, go to your site and
press the F12 key on your keyboard (works under Chrome and Firefox), and in the window that opens, go to the
"Console" tab. You may then see errors as below (Mixed content):
To correct this, you have two solutions:
- Use a plugin (Really Simple SSL, the simplest method)
- Use a tool that will automatically replace the links in your database (SRDB)
Then you have to:
Using the Really Simple SSL plugin
Install the Really Simple SSL plugin, just like any other plugin:
https://wordpress.org/plugins/really-simple-ssl/.
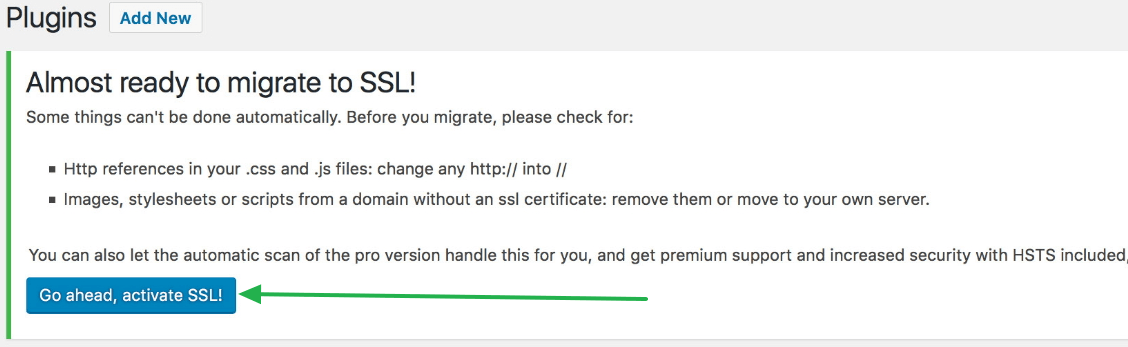
Once this plugin is installed and activated, you’ll see a new box at the top of the page with a blue
"Go ahead, activate SSL !" button. Click this button to complete the installation and automatically replace URLs from HTTP to HTTPS.
Using the SRDB tool
You can follow the instructions on the following link:
https://www.wpscale.com/docs/wordpress/change-your-links-easily-with-srdb/.
Fixing URLs in the robots.txt file
If you’ve put URLs of your site in your robots.txt file, in particular to indicate the address of your sitemap to search engines, you have to change HTTP URLs to HTTPS.
Log in via FTP, modifying the URLs if necessary. (
See the article Managing your FTP)
Declare your site in HTTPS to Google Search, and return your sitemap
If you had indeed added your site on Google Search (Google Webmaster Tools), you certainly registered it in HTTP instead of HTTPS, so you must now update this information to take into account the HTTPS.
Updating your Google Analytics code
Just like for your Google Search account (Google Webmaster Tools), you need to update your Google Analytics code to take HTTPS into account.
