
WPScale now offers to register your Domain Names.
By registering your new domain names with WPScale, the following additional services are included:
- Easy to set up the domain name,
- Automatic DNS configuration
- 2 mailboxes
- 3Gb of storage per box
- 1,000 aliases
- Redirection
- Webmail
- Buy a domain name
- Link your domain to your Website
- Manage DNS records
- Modify name servers
- Renew your domain name
- Transfer a domain name to WPScale
- Transfer a domain name to another registrar
- Creating a mailbox
- Buying additional mailbox
- Creating a mail forwarding address
- Change a mailbox password
- Delete a mailbox
- Purge a mailbox
- Connection parameters of my emails
- Set up email software
Buy a domain name:
You can choose to purchase for a period of 1 to 5 years. Each domain name is delivered with 2 mailboxes with a capacity of 3Gb each.
You can buy your domain names in two different ways.
Method 1 - From the WPScale console:
Connect to your WPScale console, "My domains" menu, then click on the "Buy a domain name" button.
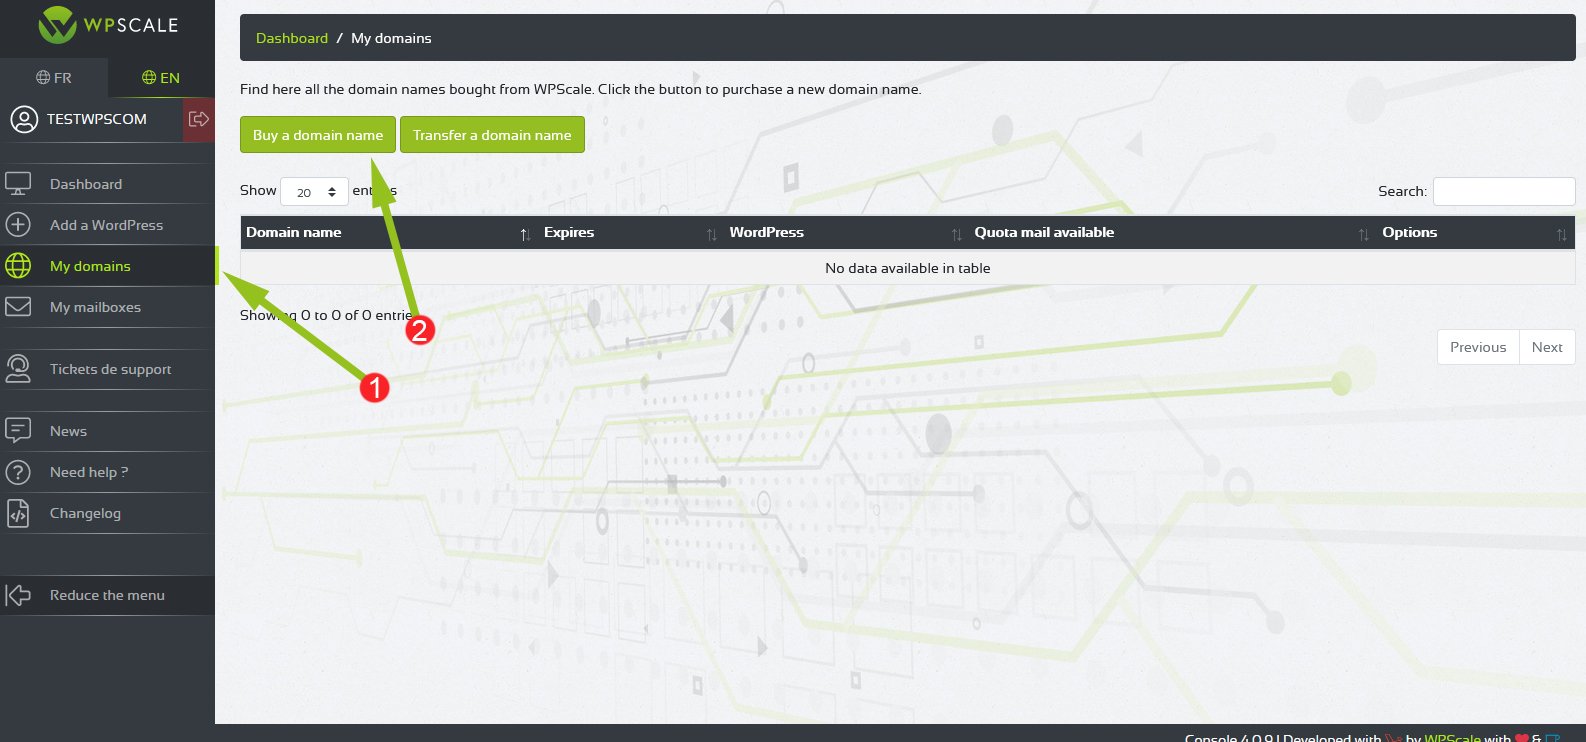
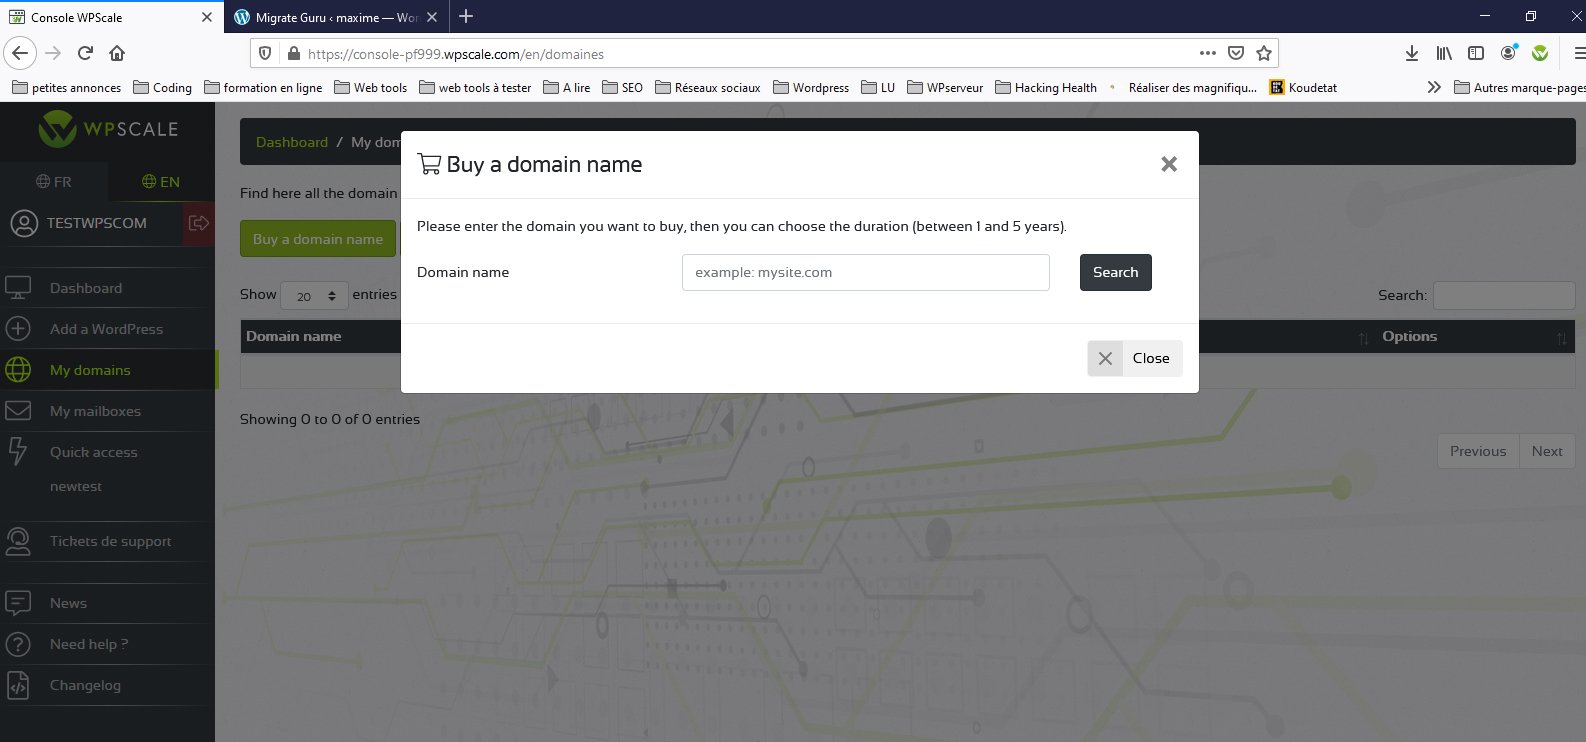
A popup opens, asking you to indicate the domain name to buy.
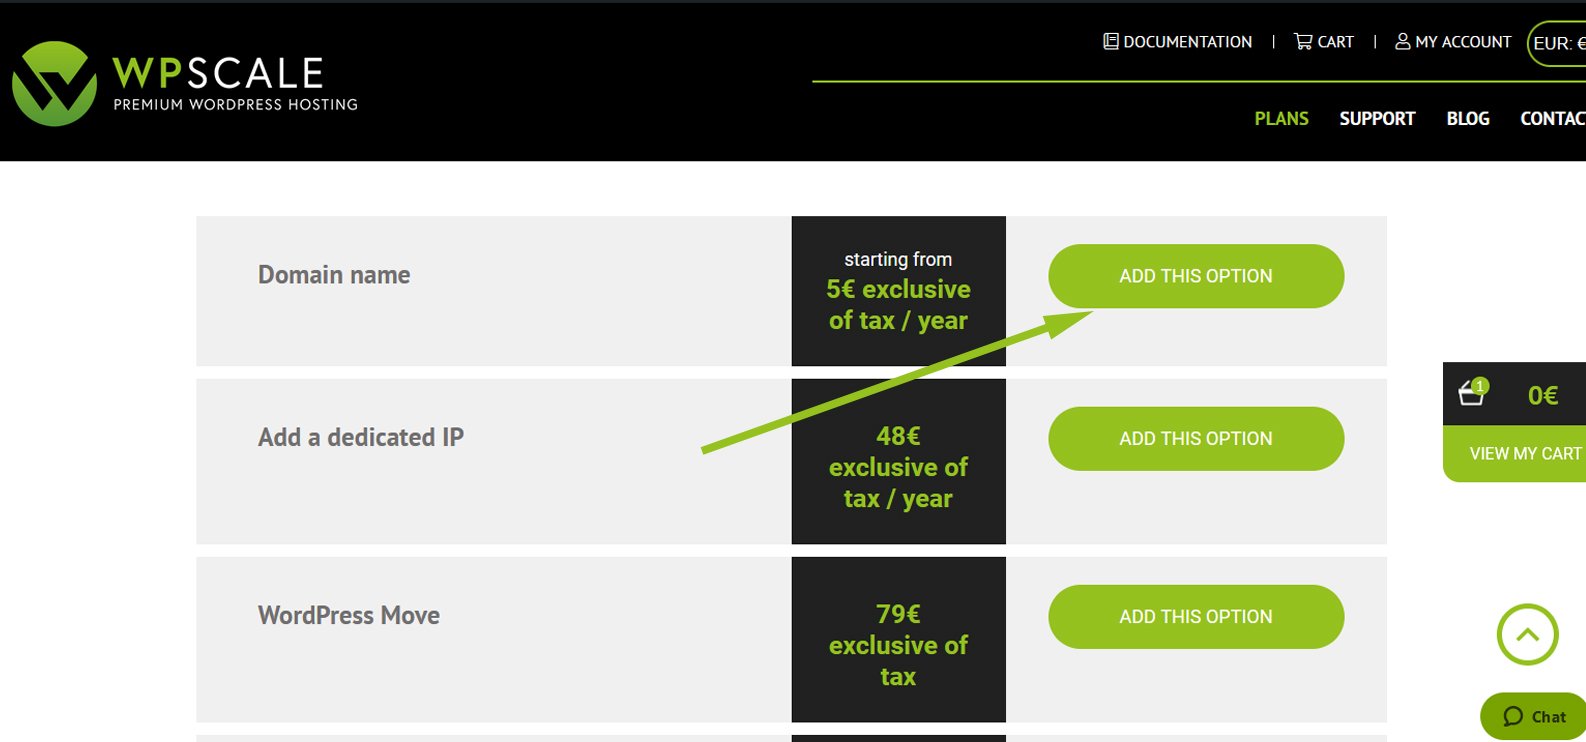
Method 2 - From the "OUR OFFERS" page:
You can also order your domain names directly from the WPScale website via the "OUR OFFERS" page.
WARNING: make sure to check your domain once it is purchased or transferred to WPScale It may be configured by default and therefore require a manual configuration explained here. Do not hesitate to contact the technical support if you need assistance in this process. You won't be able to link any misconfigured domain and your WPScale console will be blocked.
Link your domain to your website
You can find most of your domain names purchased at WPScale in the "My domains" menu.
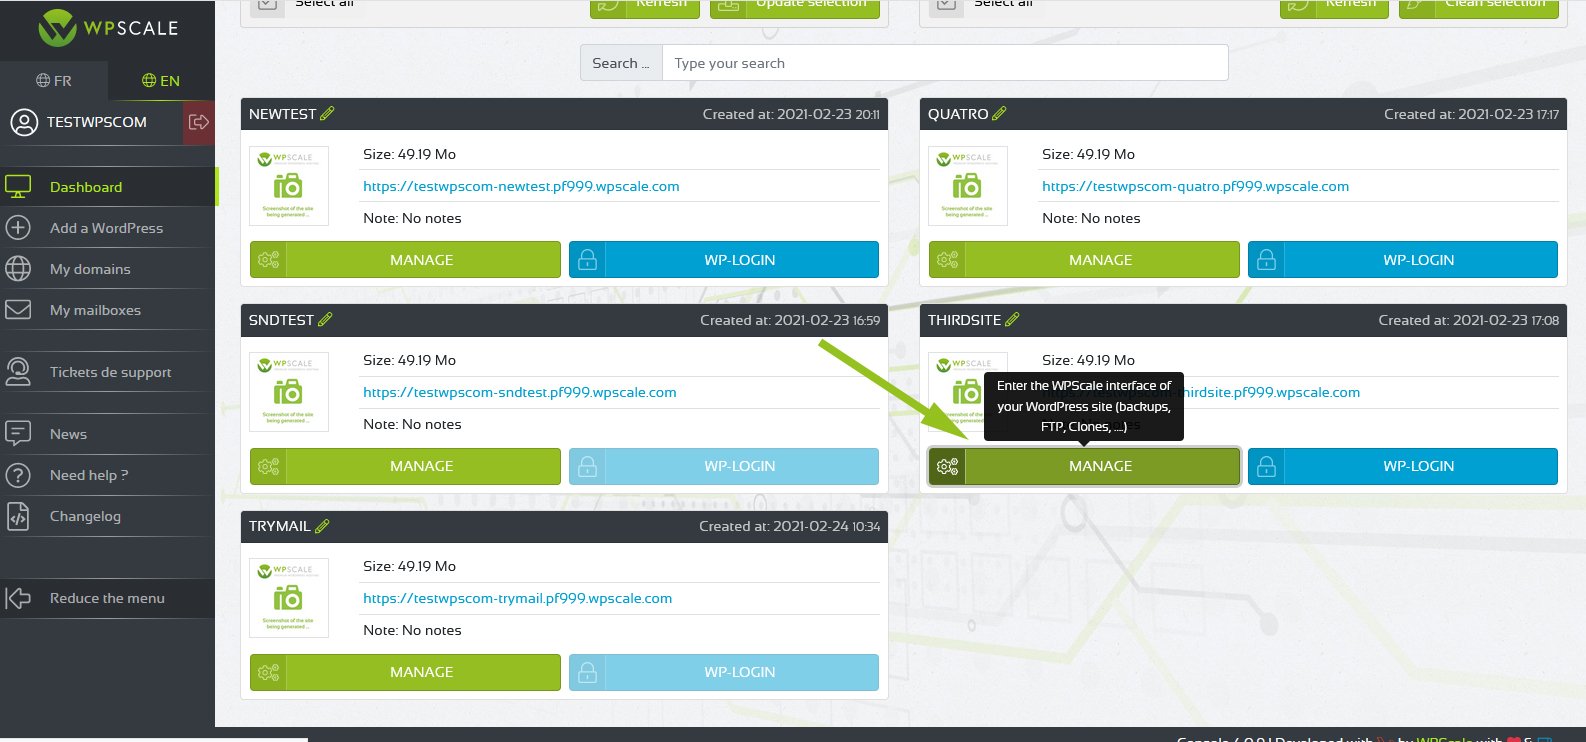
On the "Dashboard" tab of your WPScale console, manage the site where you want to add the domain name.
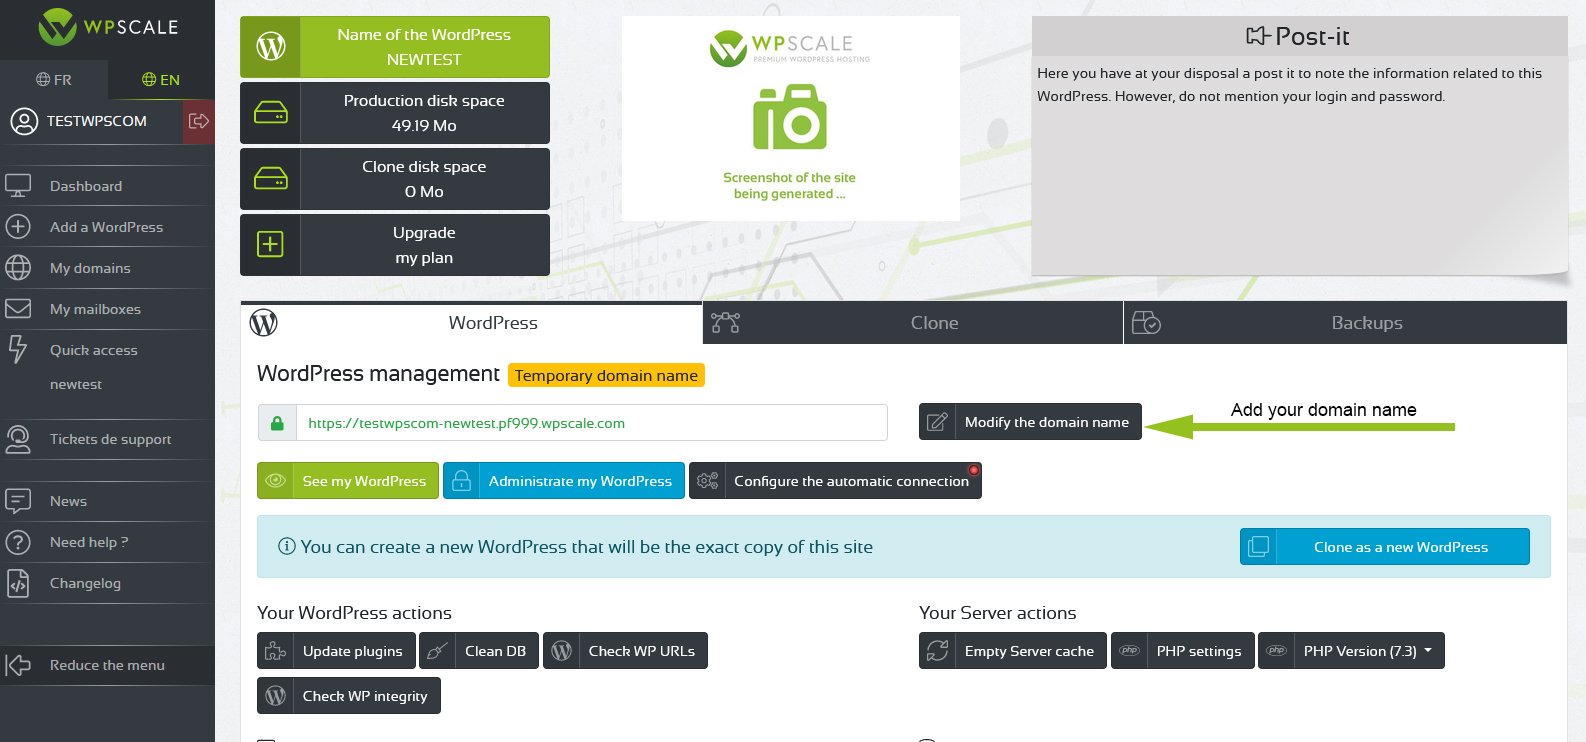
Then click on the "Modify the domain name" button.
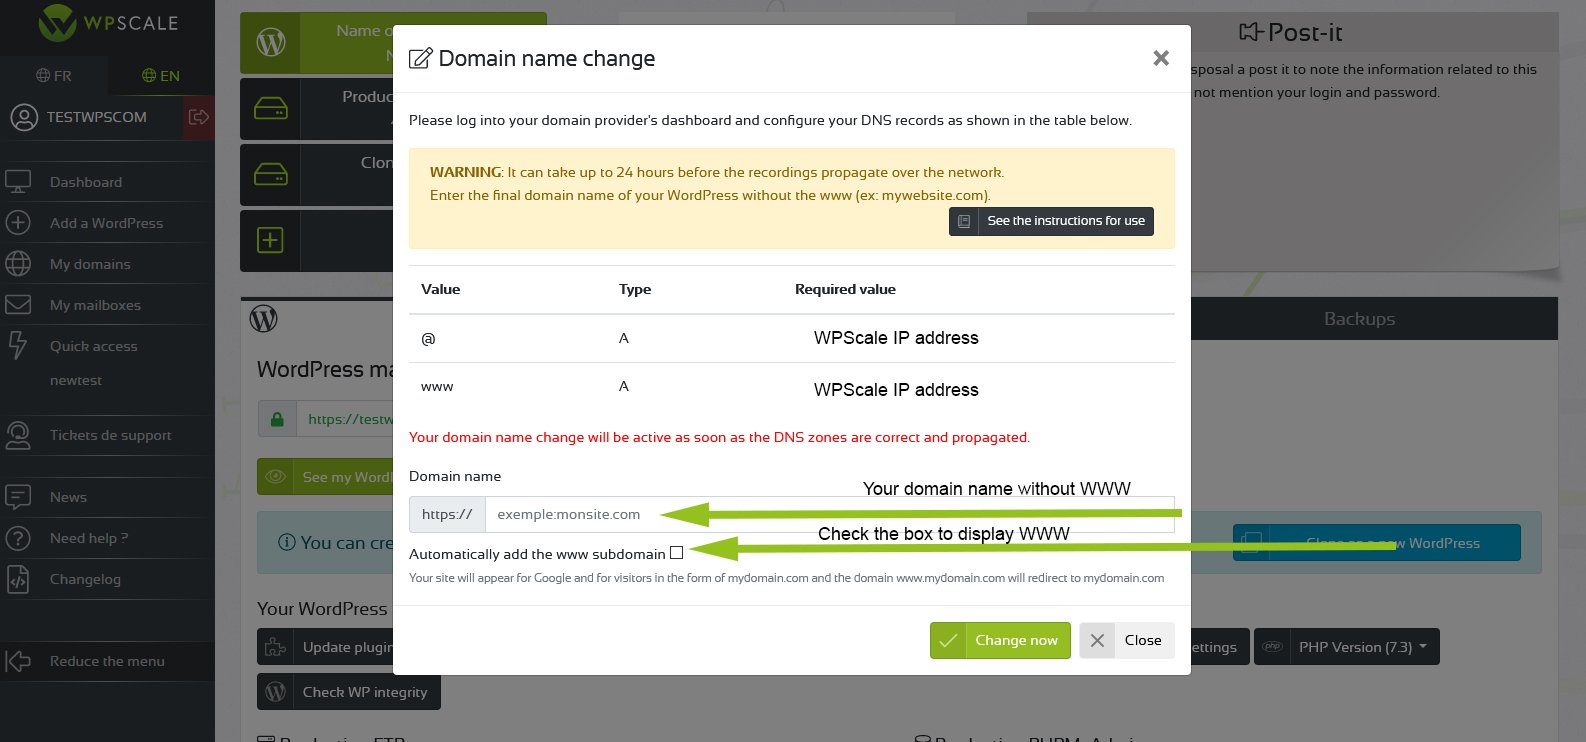
Enter the domain name and click on the "Change now" button.
By default, DNS already points to the IP of your server.
Managing DNS records
If you purchased your domain name from WPScale, the DNS are already pre-configured and point to the right IP.
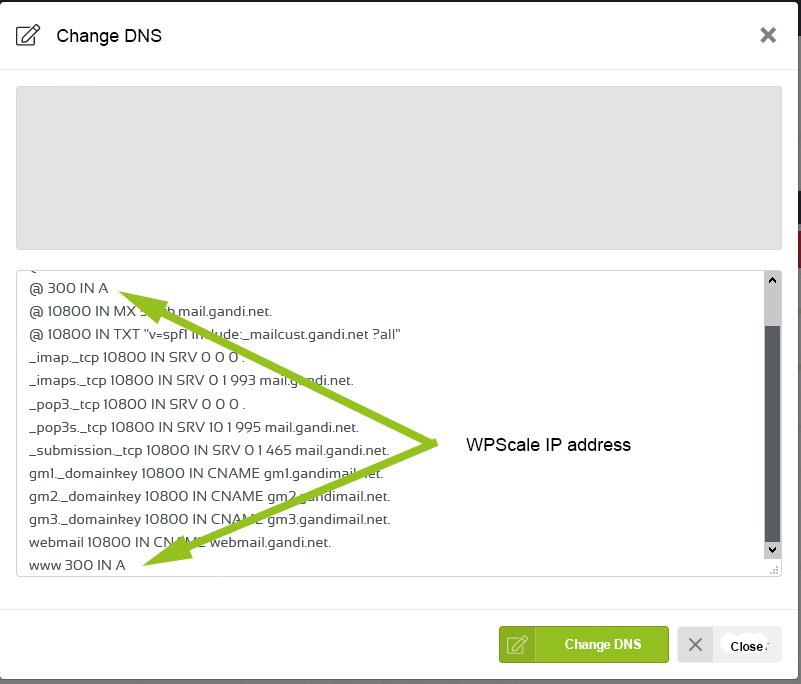
In your WPScale console, "My domains" menu, click on the "Modify DNS" button.

The DNS settings popup below opens - click on the "Modify DNS" button to validate your changes.
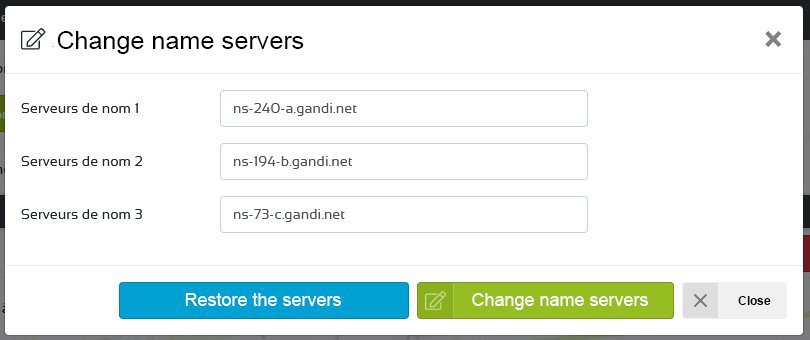
Modifying name servers
You can modify your name servers from the WPScale console. To do so, log on to your console and click on "My domains" in the menu.

The popup below appears.
WPScale is a Gandi distributor. By default, the name servers are pre-configured. If you wish to use different name servers, simply replace them with your own names.
Renewing your Domain Name
You can renew your domain names in two different ways.
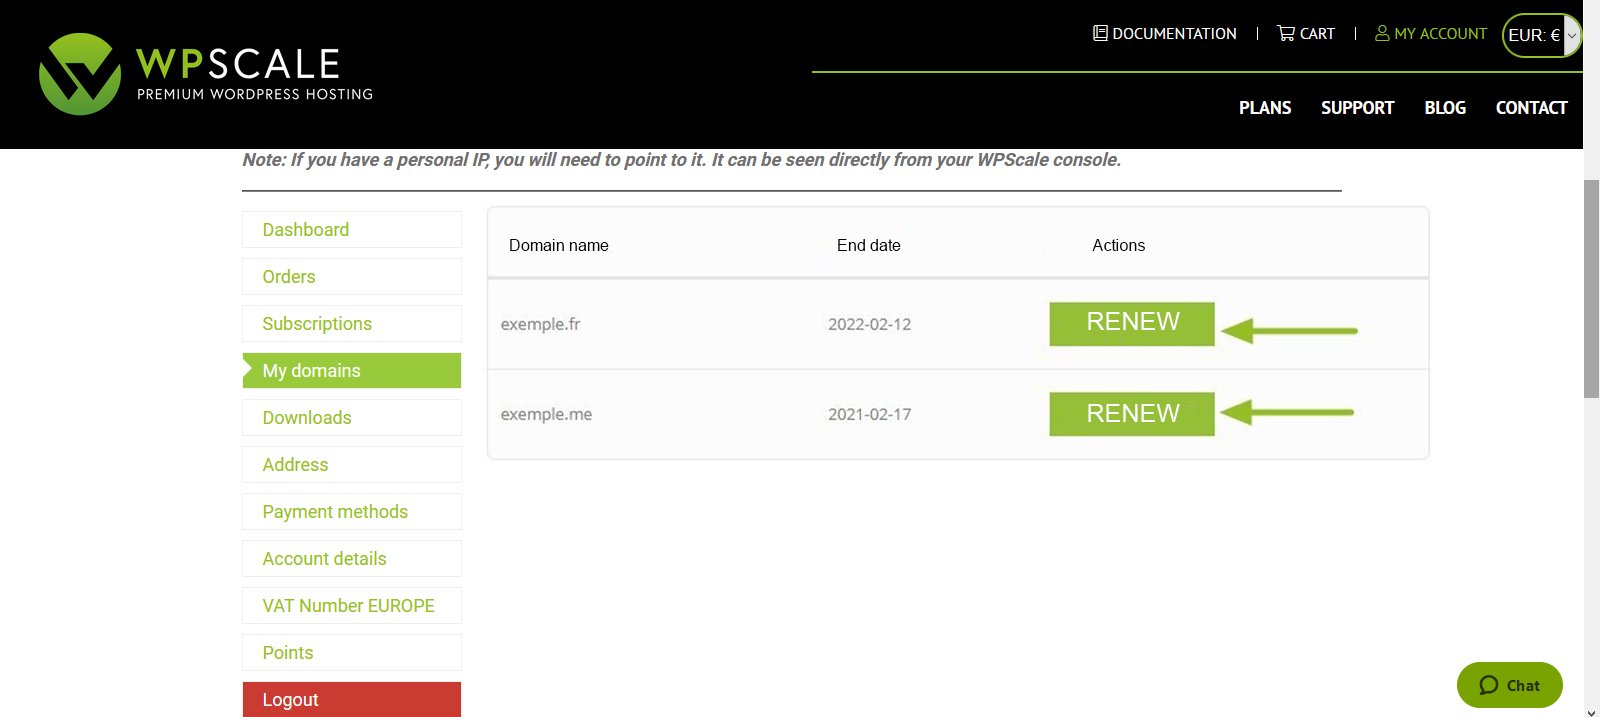
1 - From your account on the WPScale website, "My domains" menu :
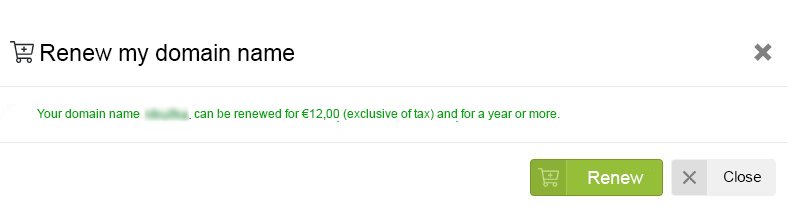
2 - From your WPScale console, "My domains" menu, click on the "Renew" button.
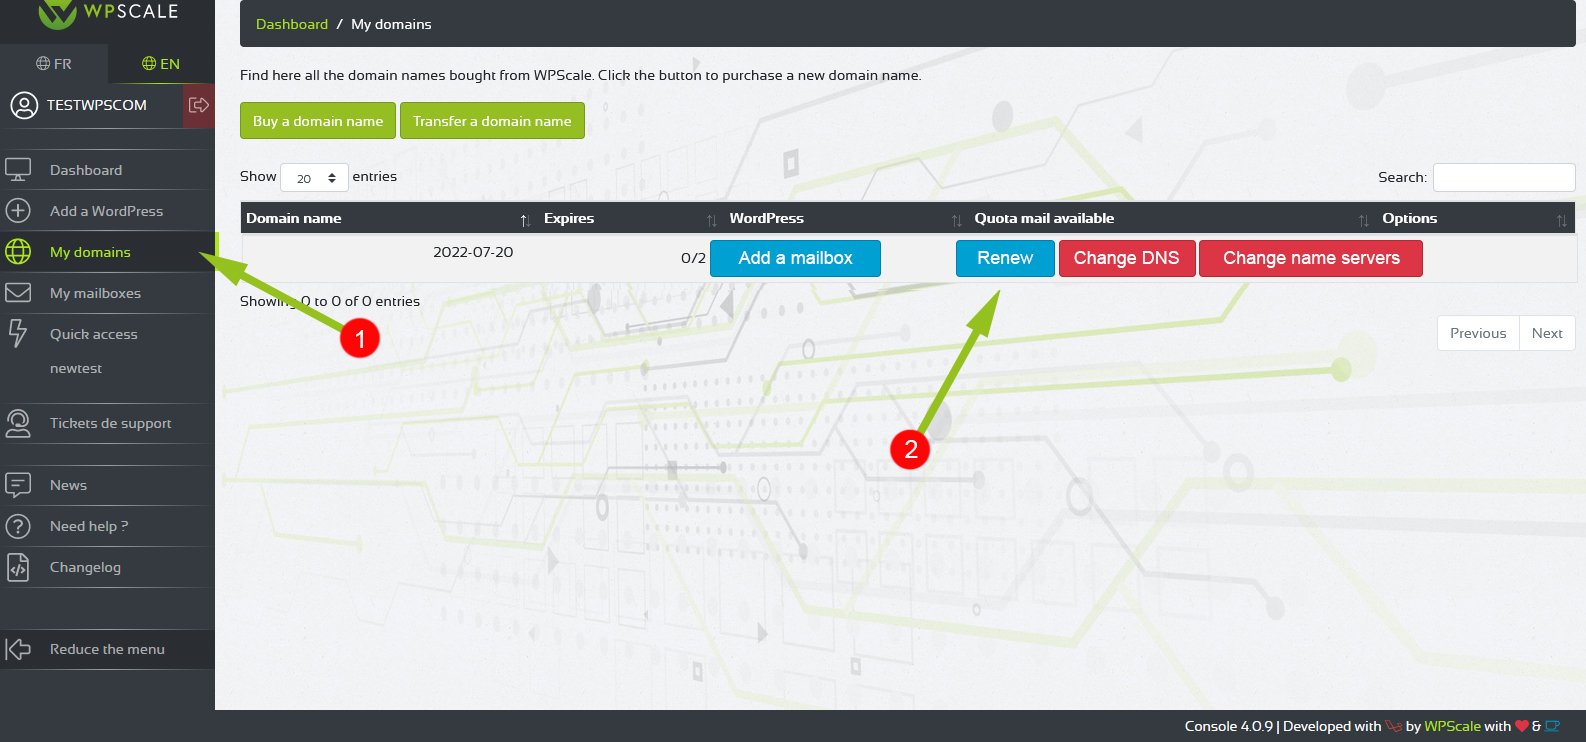
A popup appears. Click on the button to renew, and you’ll be redirected to the order page.
Transferring a domain name to WPScale
Transferring a domain name lets you change its registrar.
Find out how to transfer a domain name to WPScale. The procedure may vary slightly depending on the registrar. In case of difficulty, please contact the company that currently manages your domain name, but ultimately, what matters is to have this famous transfer code.
METHOD 1 : From the "OUR OFFERS" page
With your registrar:
Step 1: Deactivate the domain name transfer protection (depending on the registrar, domain protection is not active by default).
Step 2: Retrieve the transfer code.
Once transfer protection is disabled, you can retrieve the transfer code for your domain name.
Step 3: Start the transfer to WPScale.
- Go to the "OUR OFFERS" page.
- Further down, in the list of services, add the option "Domain name" to the basket.
- A popup opens :
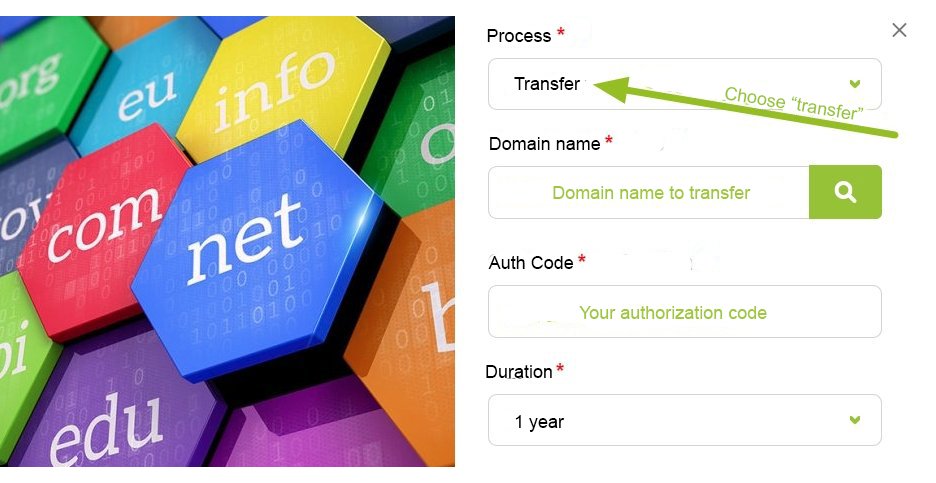
In "Process", choose "transfer" instead of "save".
In domain name, specify the domain name to be transferred. Example => my-domain.fr (without the www and without https://).
Under "Authorization code", indicate the transfer code.
Then choose the duration of the renewal (by default 1 year).
METHOD 2 : From the WPScale console
With your registrar:
Step 1 : Deactivate the domain name transfer protection (depending on the registrar, domain protection is not active by default).
Step 2 : Retrieve the transfer code.
Once transfer protection is disabled, you can retrieve the transfer code for your domain name.
Step 3: Start the transfer to WPScale.
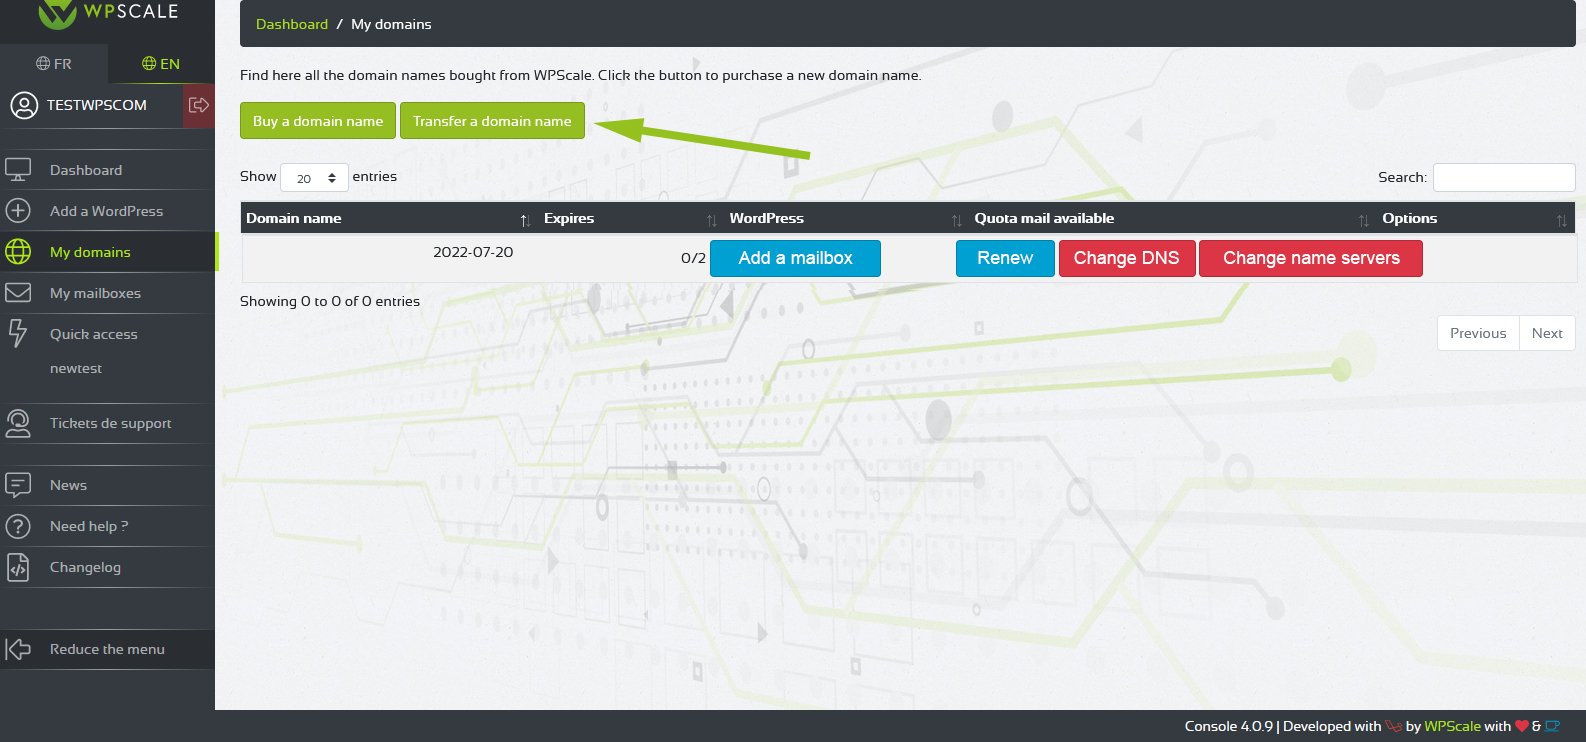
From the WPScale console, "My domains" menu, click on the "Transfer a domain name" button :
The popup below opens :
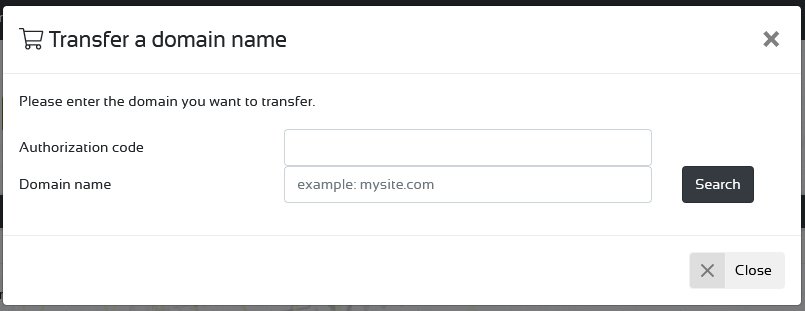
Enter the transfer code in front of "Authorisation code" then the domain name to be transferred in front of "Domain name", and finish by clicking on the "Search" button.
Transfer time:
The transfer of a domain name is never immediate. It doesn’t depend on WPScale, but on your former registrar (the one who currently manages your domain name).
If the latter uses an automated procedure, the delay is most often between 2 and 5 days, although it’s not guaranteed.
Otherwise, it’s best to put the question to the support of the current registrar before starting the procedure. Once the domain has been transferred to WPScale, it’s important to check the name servers to use the default ones at WPScale.
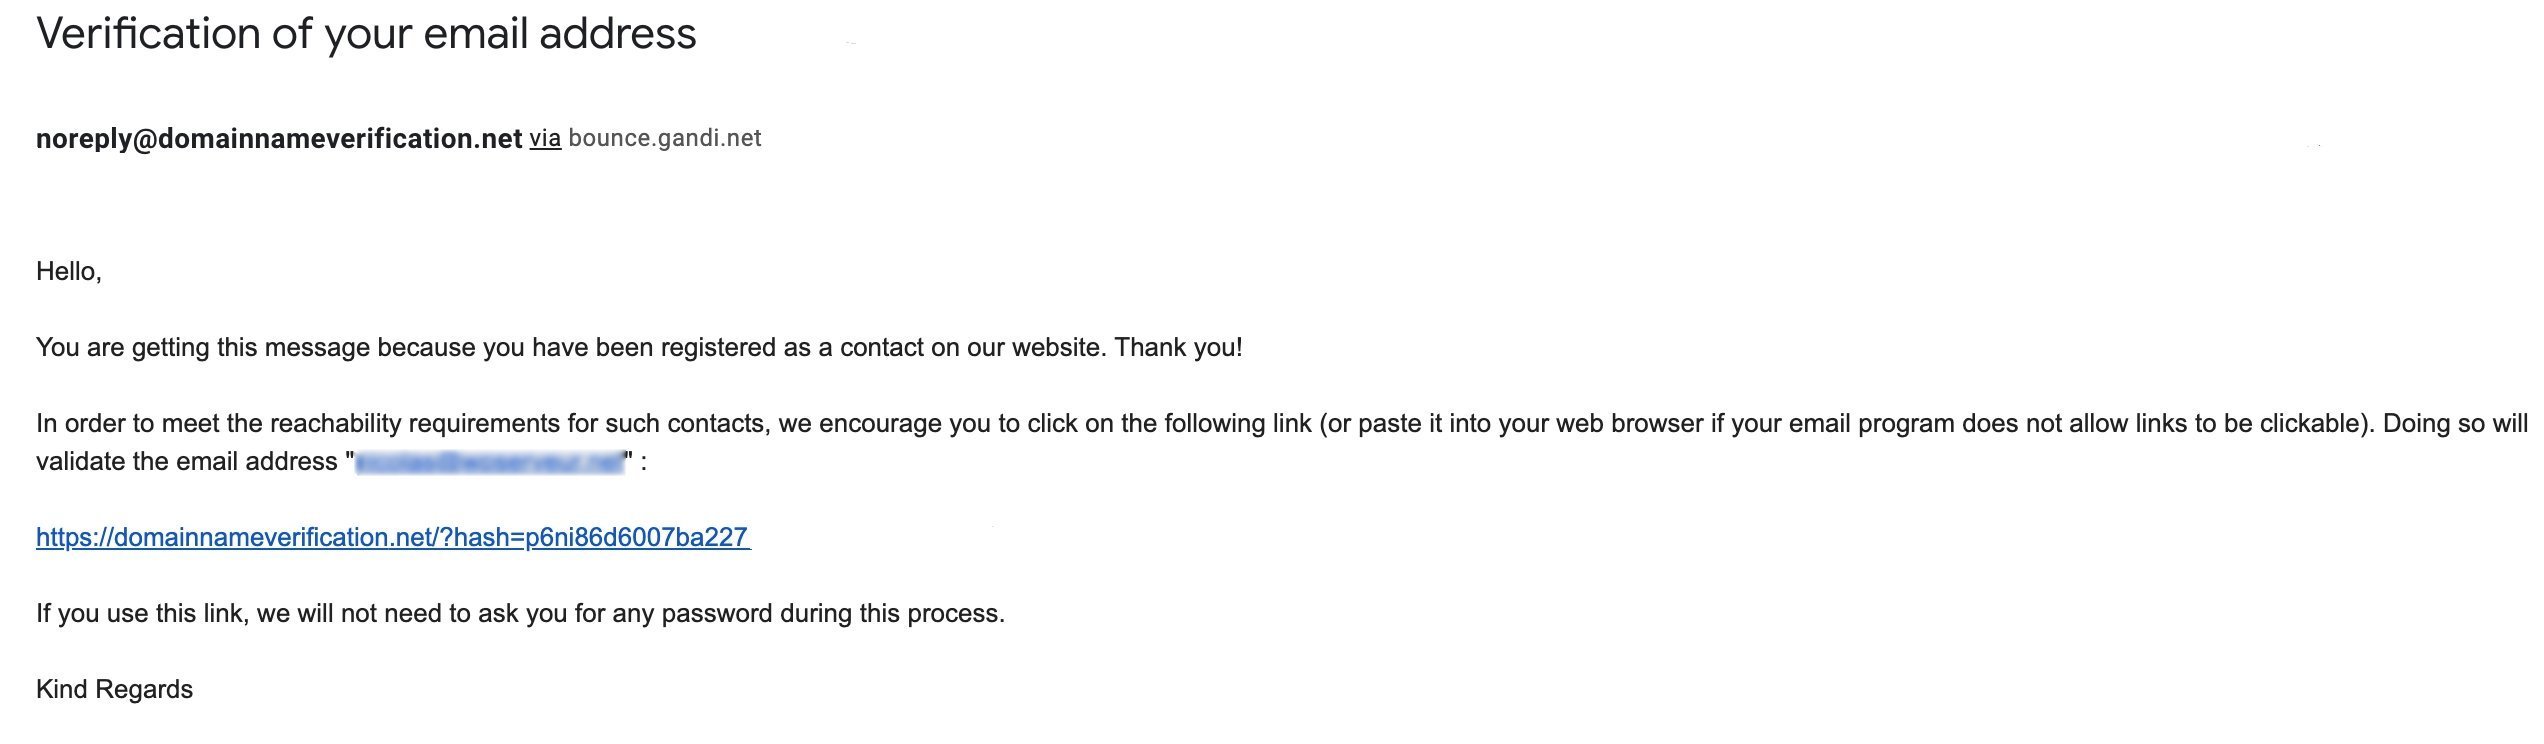
In any case, you must confirm your contact address via the validation email you will receive.
transferring a domain name to another registrar
Currently, it’s not yet possible to make an automatic request for a domain name transfer. If you wish, please send a request to support.
Creating a mailbox
You can create up to 2 mailboxes with a capacity of 3Gb each.
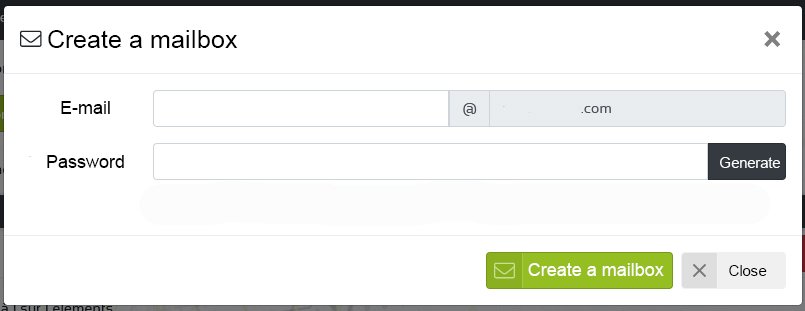
In your WPScale console, "My domains" menu, click on the "Add a mailbox" button.

Indicate in the "Email" field the email address you wish to create, for example contact (do not indicate @my-domain.fr) then define an associated password.
The password must be at least 8 characters long, containing at least 1 uppercase letter, 1 number and a special character. Warning : this password will not be sent to you, so remember to write it down.
Buying additional mailbox
Small reminder: For each domain name purchased, you get two 3GB mailboxes for free.
If you want to get more mailboxes, you can buy them optionally from the following link => https://www.wpscale.com/product/additional-mailbox-for-wpscale-domain-name/
After purchasing an additional mailbox, you will have to open a support ticket by specifying the email address and the identifiers that you want in order to finalize its creation.
Creating an email forwarding address
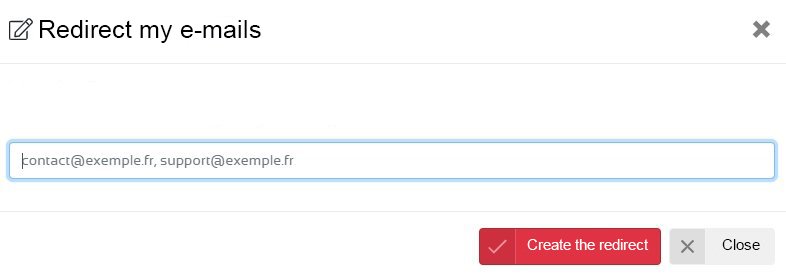
Redirection addresses let you redirect emails sent to one or more addresses of your domain to an "external" address, such as directly forwarding emails from name@yourdomain.fr to your@normaladdress.com.
From your WPScale console, "My mailboxes" menu, click on the "Create a redirection" button.

Indicate the email addresses then validate by clicking on the "Create a redirect" button. Separate them with a comma to add more than one.
Changing a mailbox password
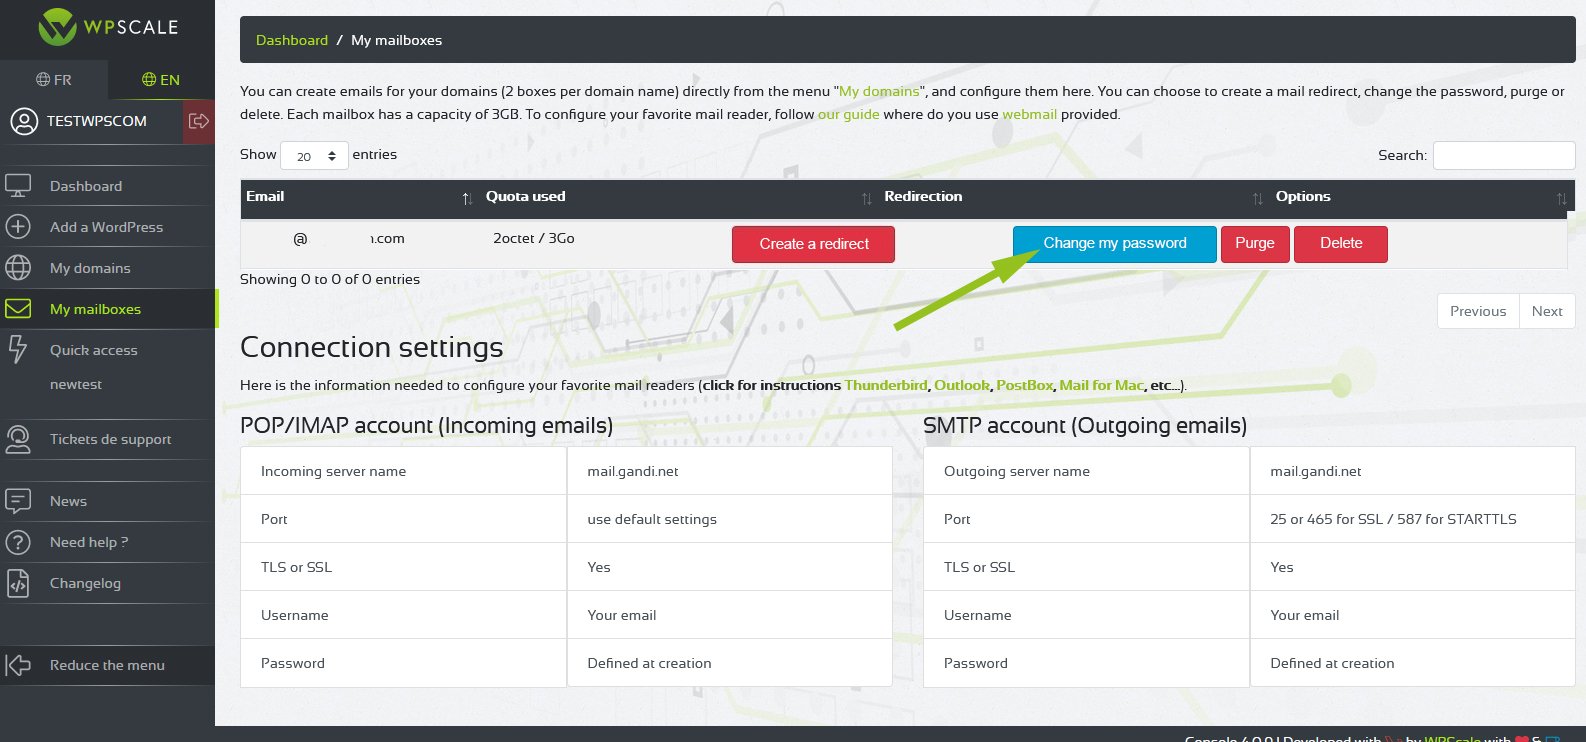
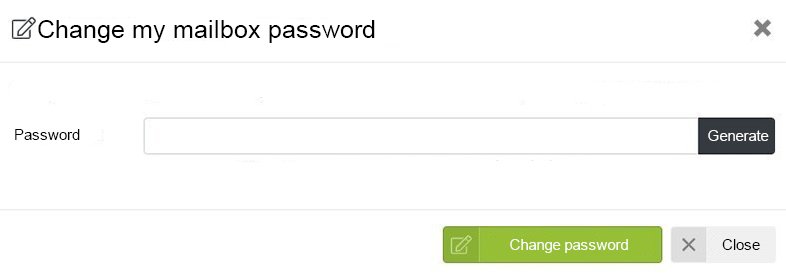
From your WPScale console, "My mailboxes" menu, click on the "Change my password" button.
Then indicate the new password. It must be at least 8 characters long, containing at least 1 capital letter, 1 number and a special character. Warning: this password will not be sent to you, so remember to write it down.
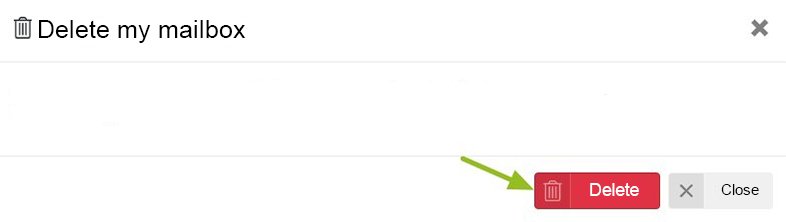
Deleting a mailbox
From your WPScale console, "My mailboxes" menu, click on the "Delete" button.
Warning : this operation is irreversible. Your box and its emails will be permanently deleted and can no longer be retrieved.
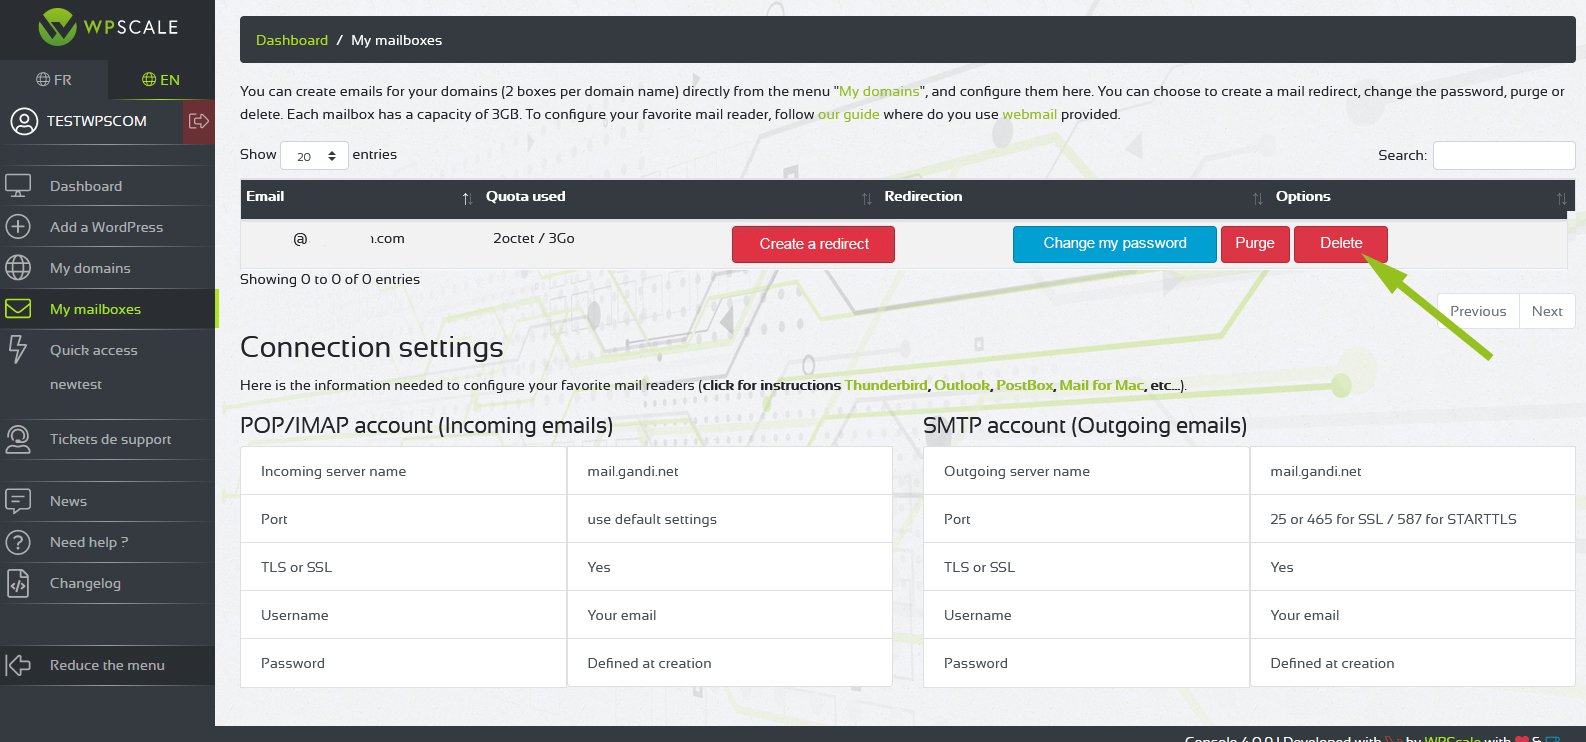
A popup opens. Validate by clicking on the "Delete" button.
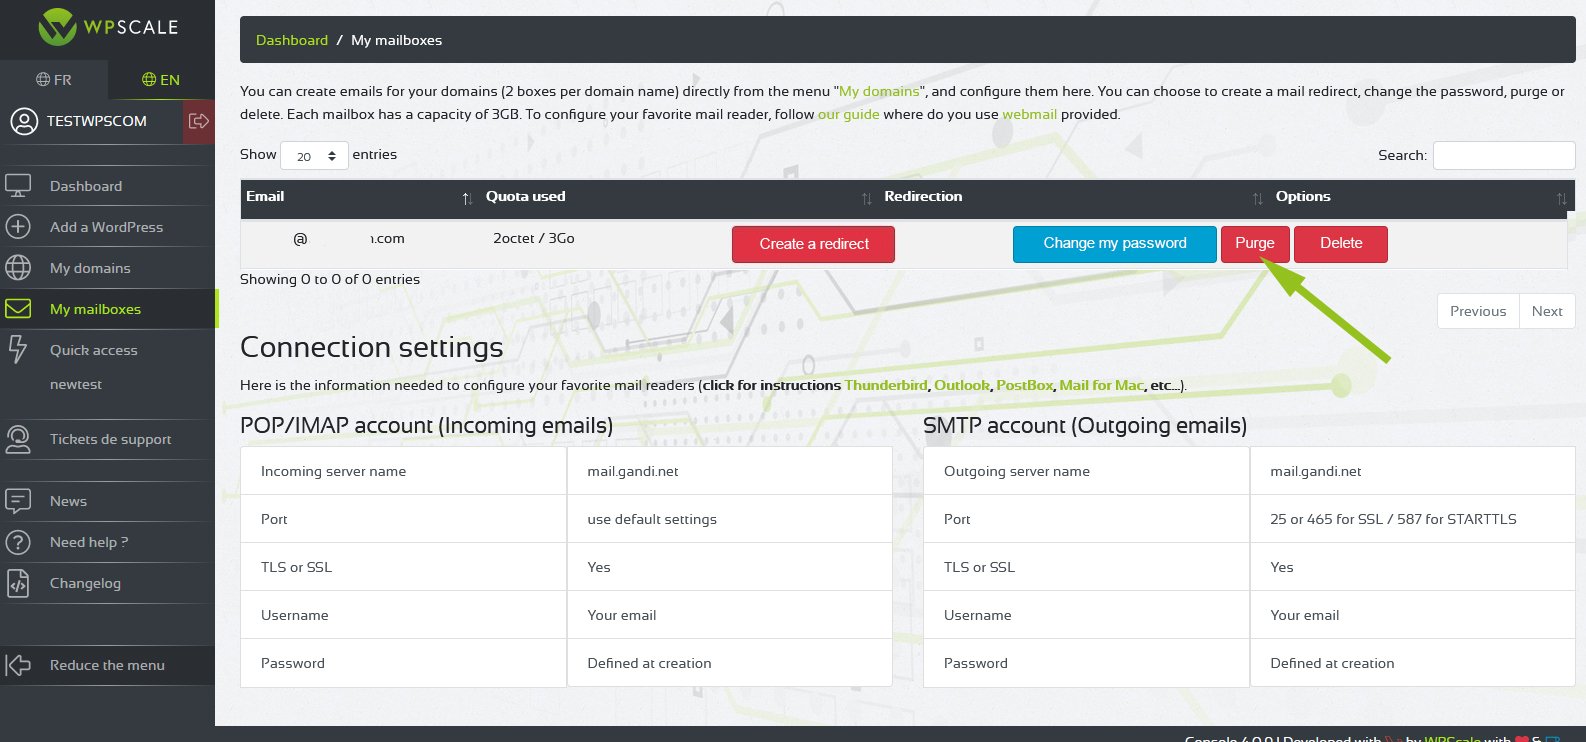
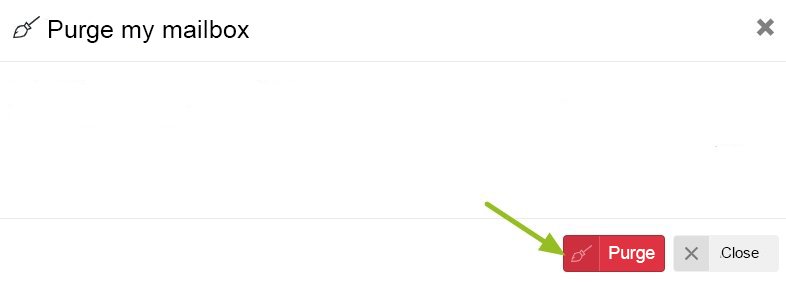
Purge a mailbox
For example, if you have reached the 3 GB limit of your mailbox, you have the option to delete all your emails. From your WPScale console, "My mailboxes" menu, click on the "Purge" button.
Warning : this operation is irreversible - the emails will be permanently deleted and can no longer be retrieved.
A popup opens. Validate by clicking on the "Purge" button.
Connection parameters of my emails
From your WPScale console, "My mailboxes" menu, find the part which concerns the login parameters to configure your mailbox on your favourite email software.
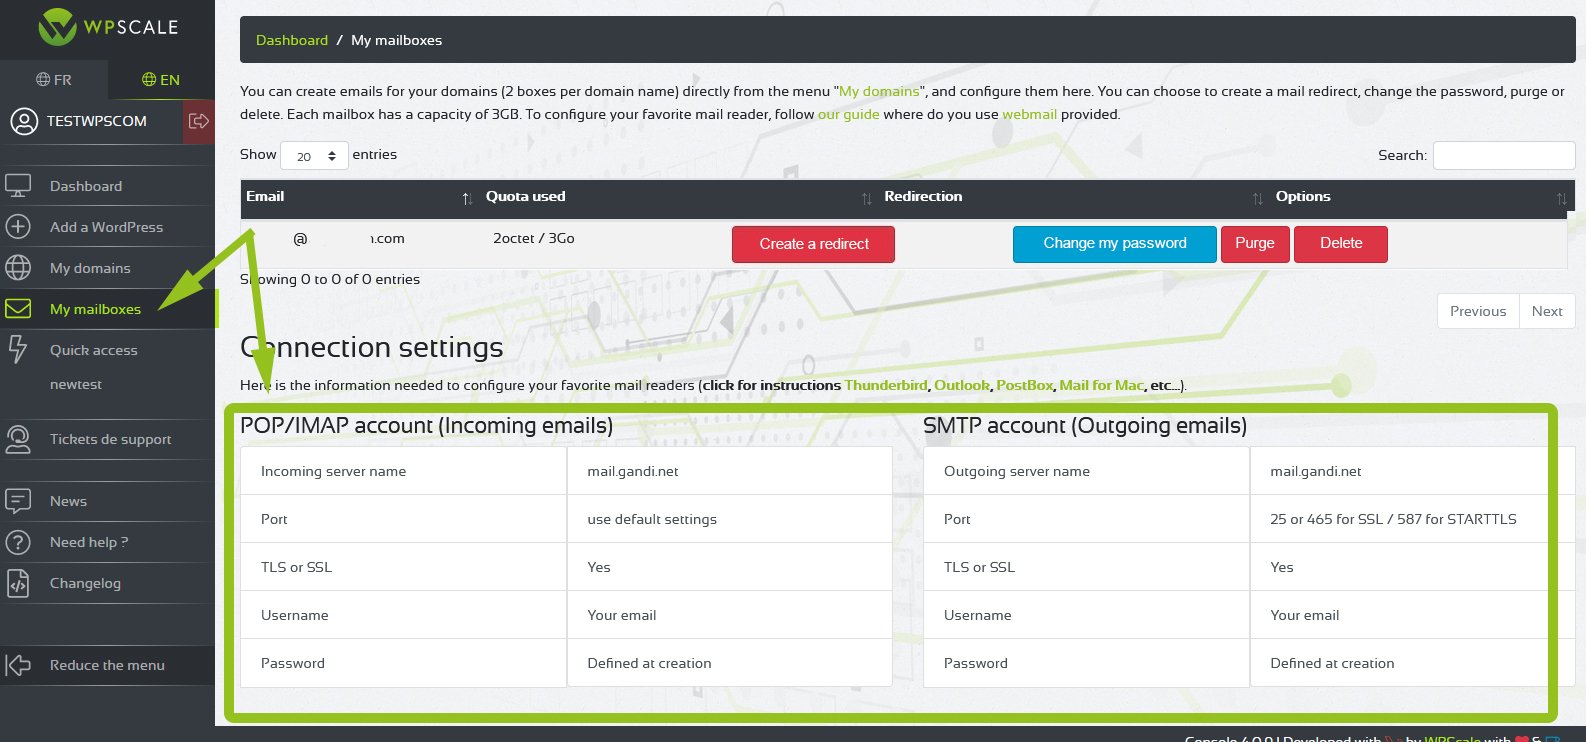
Here, you’ll find all the information grouped together on the different recommended settings to configure email software (Thunderbird, Outlook, BlueMail, etc.), whatever the operating system of your computer.
Incoming emails :
- Server name: mail.gandi.net
- Port: use default settings
- TLS or SSL: yes
- Username: your email
- Password: defined at creation
Outgoing emails :
- Server name: mail.gandi.net
- Port : 25 or 465 for SSL / 587 for TLS
- TLS or SSL: yes
- Username: your email
- Password: defined at creation
Setting up email software
Here is the information you need to configure your mailboxes in a mail program.